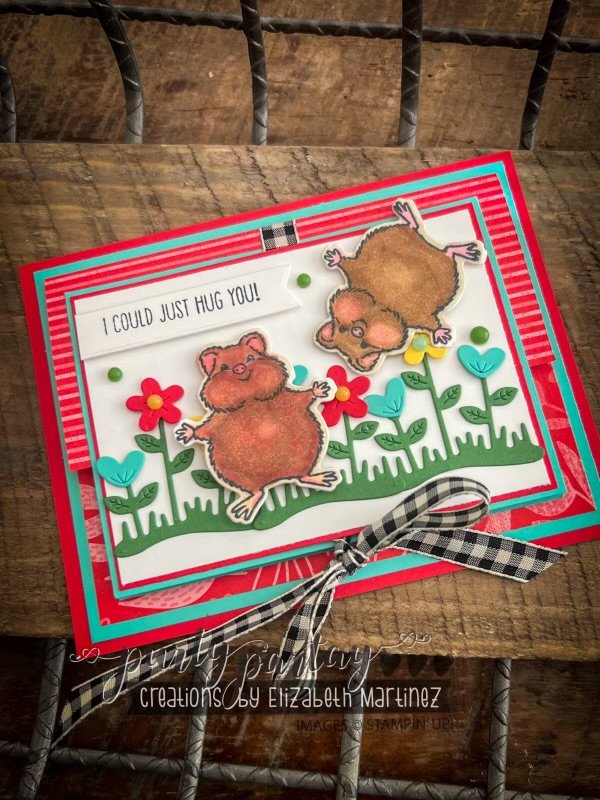
I had a crafting session with the Hearts and Hugs bundle and created a fun fold card that I just had to share! This card features the gorgeous Bold Brights Designer Series Paper and some adorable die cuts. Here’s a step-by-step guide to recreate this project at home.
Supplies Needed:
- Poppy Parade Cardstock
- 1 – 5.5 x 4.25
- 1 – 4.375 x 3.125
- Coastal Cabana cardstock
- 1 – 4 x 5 .25
- 2 – 4.5 x 3.25
- Basic White Cardstock
- 2 – 4.25 x 3
- Bold Brights Designer Series Paper
- 5″ x 6″ Bold Brights Designer Series Paper (scored at 3 3/4″ on the 6-inch side)
- Scraps for Die cut Pieces:
- Coastal Cabana – 4 larger hearts
- Poppy Parade – 3 Flowers
- Daffodil Delight – 2 Floers
- Garden Green – 3 Leaves & Stem
- Basic White – Banner Cut
- Additional Accessories & Supplies
- Dots for Days
- Black & Very Vanilla Large Checked Ribbon
- Memento Black Pad
- Glue Dots, Dimensionals (Mini + Regular), Tear & Tape
- Stampin’ Blends – recommended colors:
- Pecan Pie
- Copper Clay
- Ivory/Bronze
- Pretty In Pink
Directions:
- Layer the Base:
- Glue the 4″ x 5.25″ piece of Coastal Cabana centered on the Poppy Parade card base.
- Prepare the Fun Fold:
- Score the 5″ x 6″ DSP at 3 3/4″ along the 6-inch side. Fold to create a 3 3/4″ x 5″ folder.
- Add the Ribbon:
- Before gluing the DSP folder on top of the layered base, add a piece of Black and Vanilla Large Checked Ribbon long enough to tie a bow.
- Layering the Front
- Layer one of the Coastal Cabana pieces on the front of the DSP folder. Apply adhesive only to the left side (not the side that opens).
- Ribbon Placement:
- Pull the front of your ribbon over the folded DSP and secure it in place with a glue dot or a piece of tear & tape. Then adhere the Poppy Parade layer on top of the Coastal Cabana, sandwiching the ribbon in between.
- Create the Floral Scene:
- Use the die-cut elements to create your floral scene on the front of the Basic White cardstock. Use a combination of glue dots and mini dimensionals to add depth to the flowers and hearts.
- Add the Hamsters:
- Stamp two hamsters on Basic White using Memento Black Ink. Color them using Stampin’ Blends in Pecan Pie, Copper Clay, Ivory, and Light Pretty Pink. Cut them out and attach them to the front of your card along with the die-cut greeting banner (stamped with the greeting of your choice. Trim off the left side of the banner flush with the Basic White Layer.
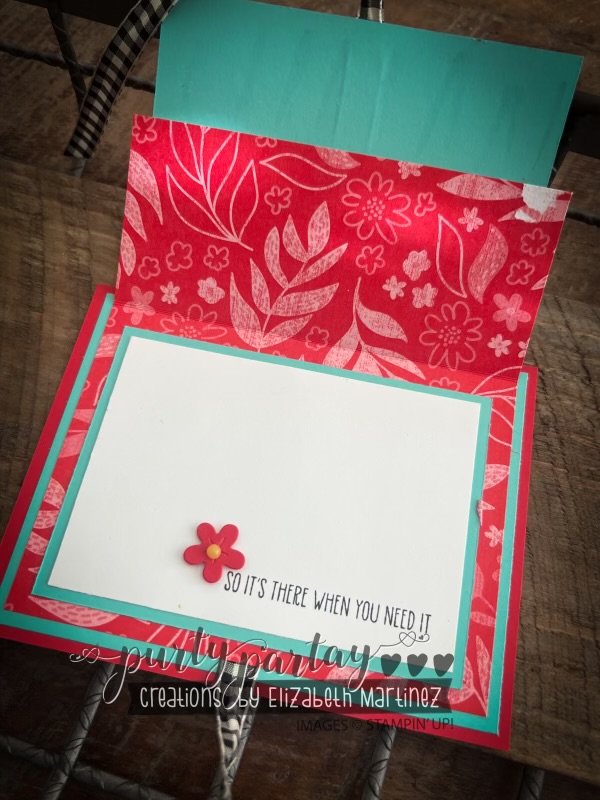
- Don’t forget the inside!
- Layer Basic White on Coastal Cabana and position it on the inside to align with the outside layer.
- Stamp a phrase of your choice and embellish with a Flower or Heart and some bling!
- Finishing Touches:
- To finish off your card, embellish with Dots for Days bling for an extra pop of sparkle.
This card is perfect for any occasion with its hidden message area and fun fold design.
For more details and inspiration, make sure to visit my blog regularly for new crafting ideas and tutorials!


 Large Check Ribbon")


 Designer Series Paper")

Leave a Reply