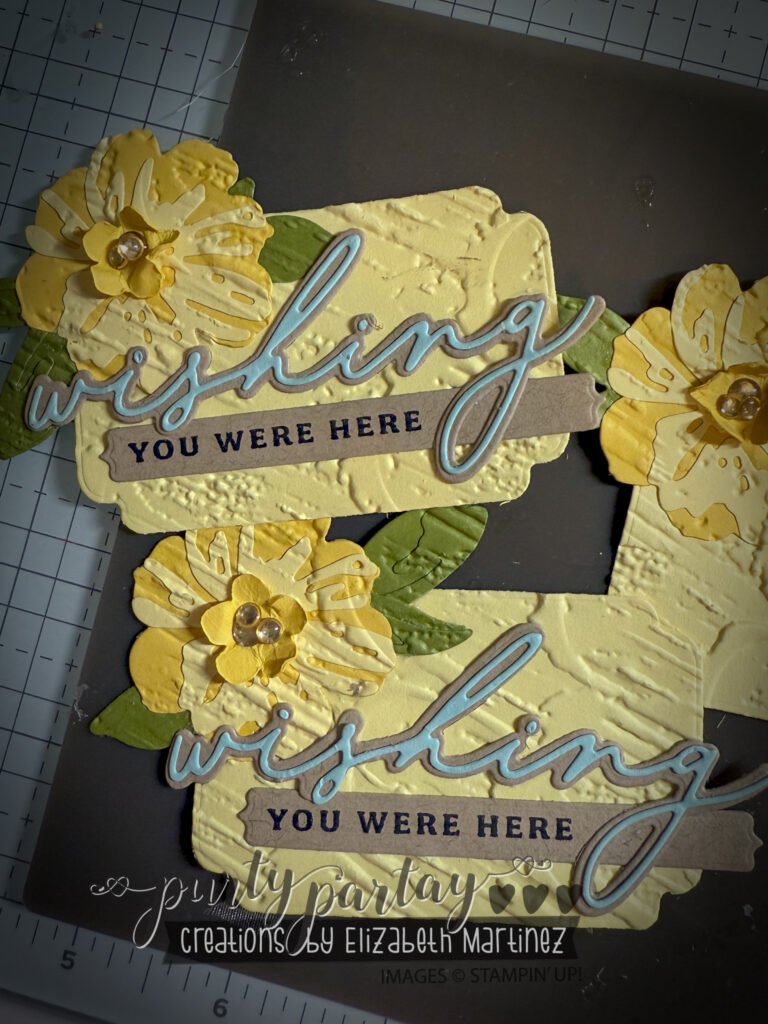
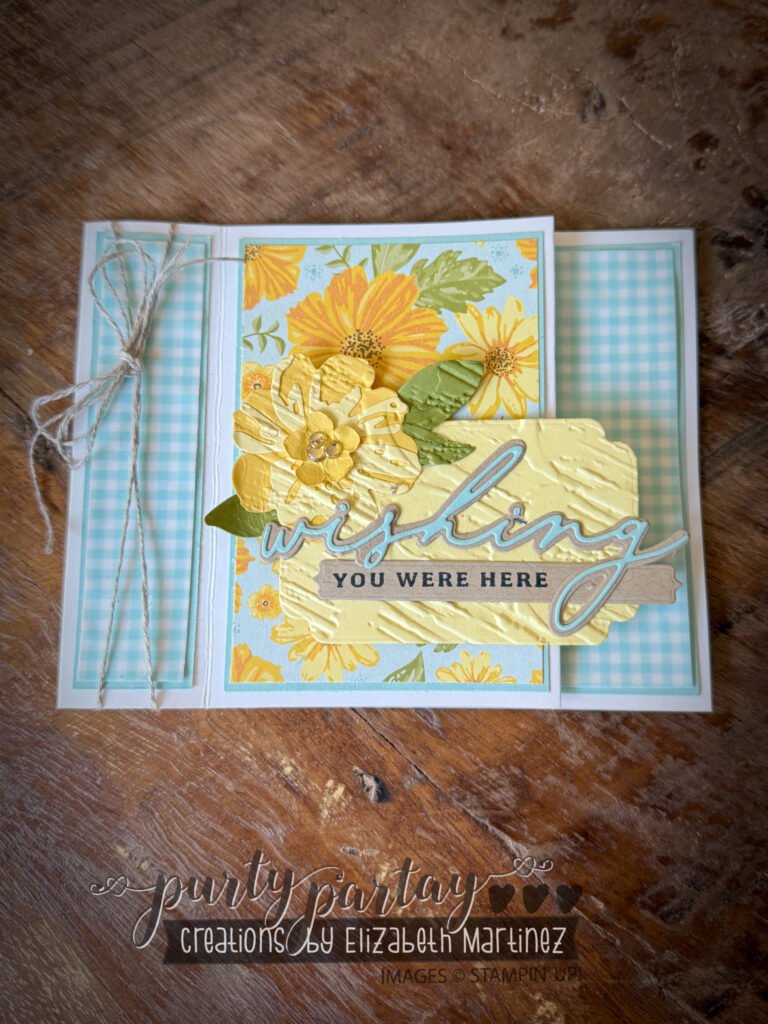
The Floral Delights Suite from the new Spring Mini Catalog has quickly become a favorite of mine! This suite is full of gorgeous floral elements, soft color palettes, and stunning die-cut possibilities. Today, I’m sharing a project where I experimented with adding texture and dimension to my die-cut flowers in a unique way.
Creating Dimension with Embossing

One of the things I love about this suite is the detailed dies, but I noticed there wasn’t a stamp that perfectly fit some of the floral shapes. So, I decided to take a different approach to enhance my die-cut elements:
- Die-Cut the Floral Pieces – I started by cutting out all my floral elements using the coordinating dies from the Floral Delights Suite.
- Assemble the Floral Arrangement – Before adding texture, I glued all my pieces together to form the main focal image.
- Emboss for Texture – To give my assembled floral piece an extra wow factor, I ran the entire piece through the Plaster Painting 3D Embossing Folder (from the Mixed Floral Online Exclusive). This added a beautiful sculpted effect that made the florals pop with depth and dimension!
Why This Suite is a Must-Have
Aside from the gorgeous florals, the Floral Delights Suite has some amazing coordinating products that make it stand out:
- Coordinating Printed Vellum – In addition to the stunning Designer Series Paper (DSP), this suite includes a printed vellum option that adds a soft, ethereal touch to your projects.
- Super Fun Word Dies – This suite includes word dies that coordinate with matching sentiment stamps, making it easy to create layered and dimensional greetings.

I had so much fun playing with these products, and I love how the embossing technique added a new level of texture to my floral card! If you want to explore the Floral Delights Suite, you can find more details here.
Let me know in the comments—what’s your favorite way to add texture to die-cuts? Have you tried embossing assembled die-cuts before? I’d love to hear your thoughts!

Leave a Reply