Hello, crafty friends! 🦋
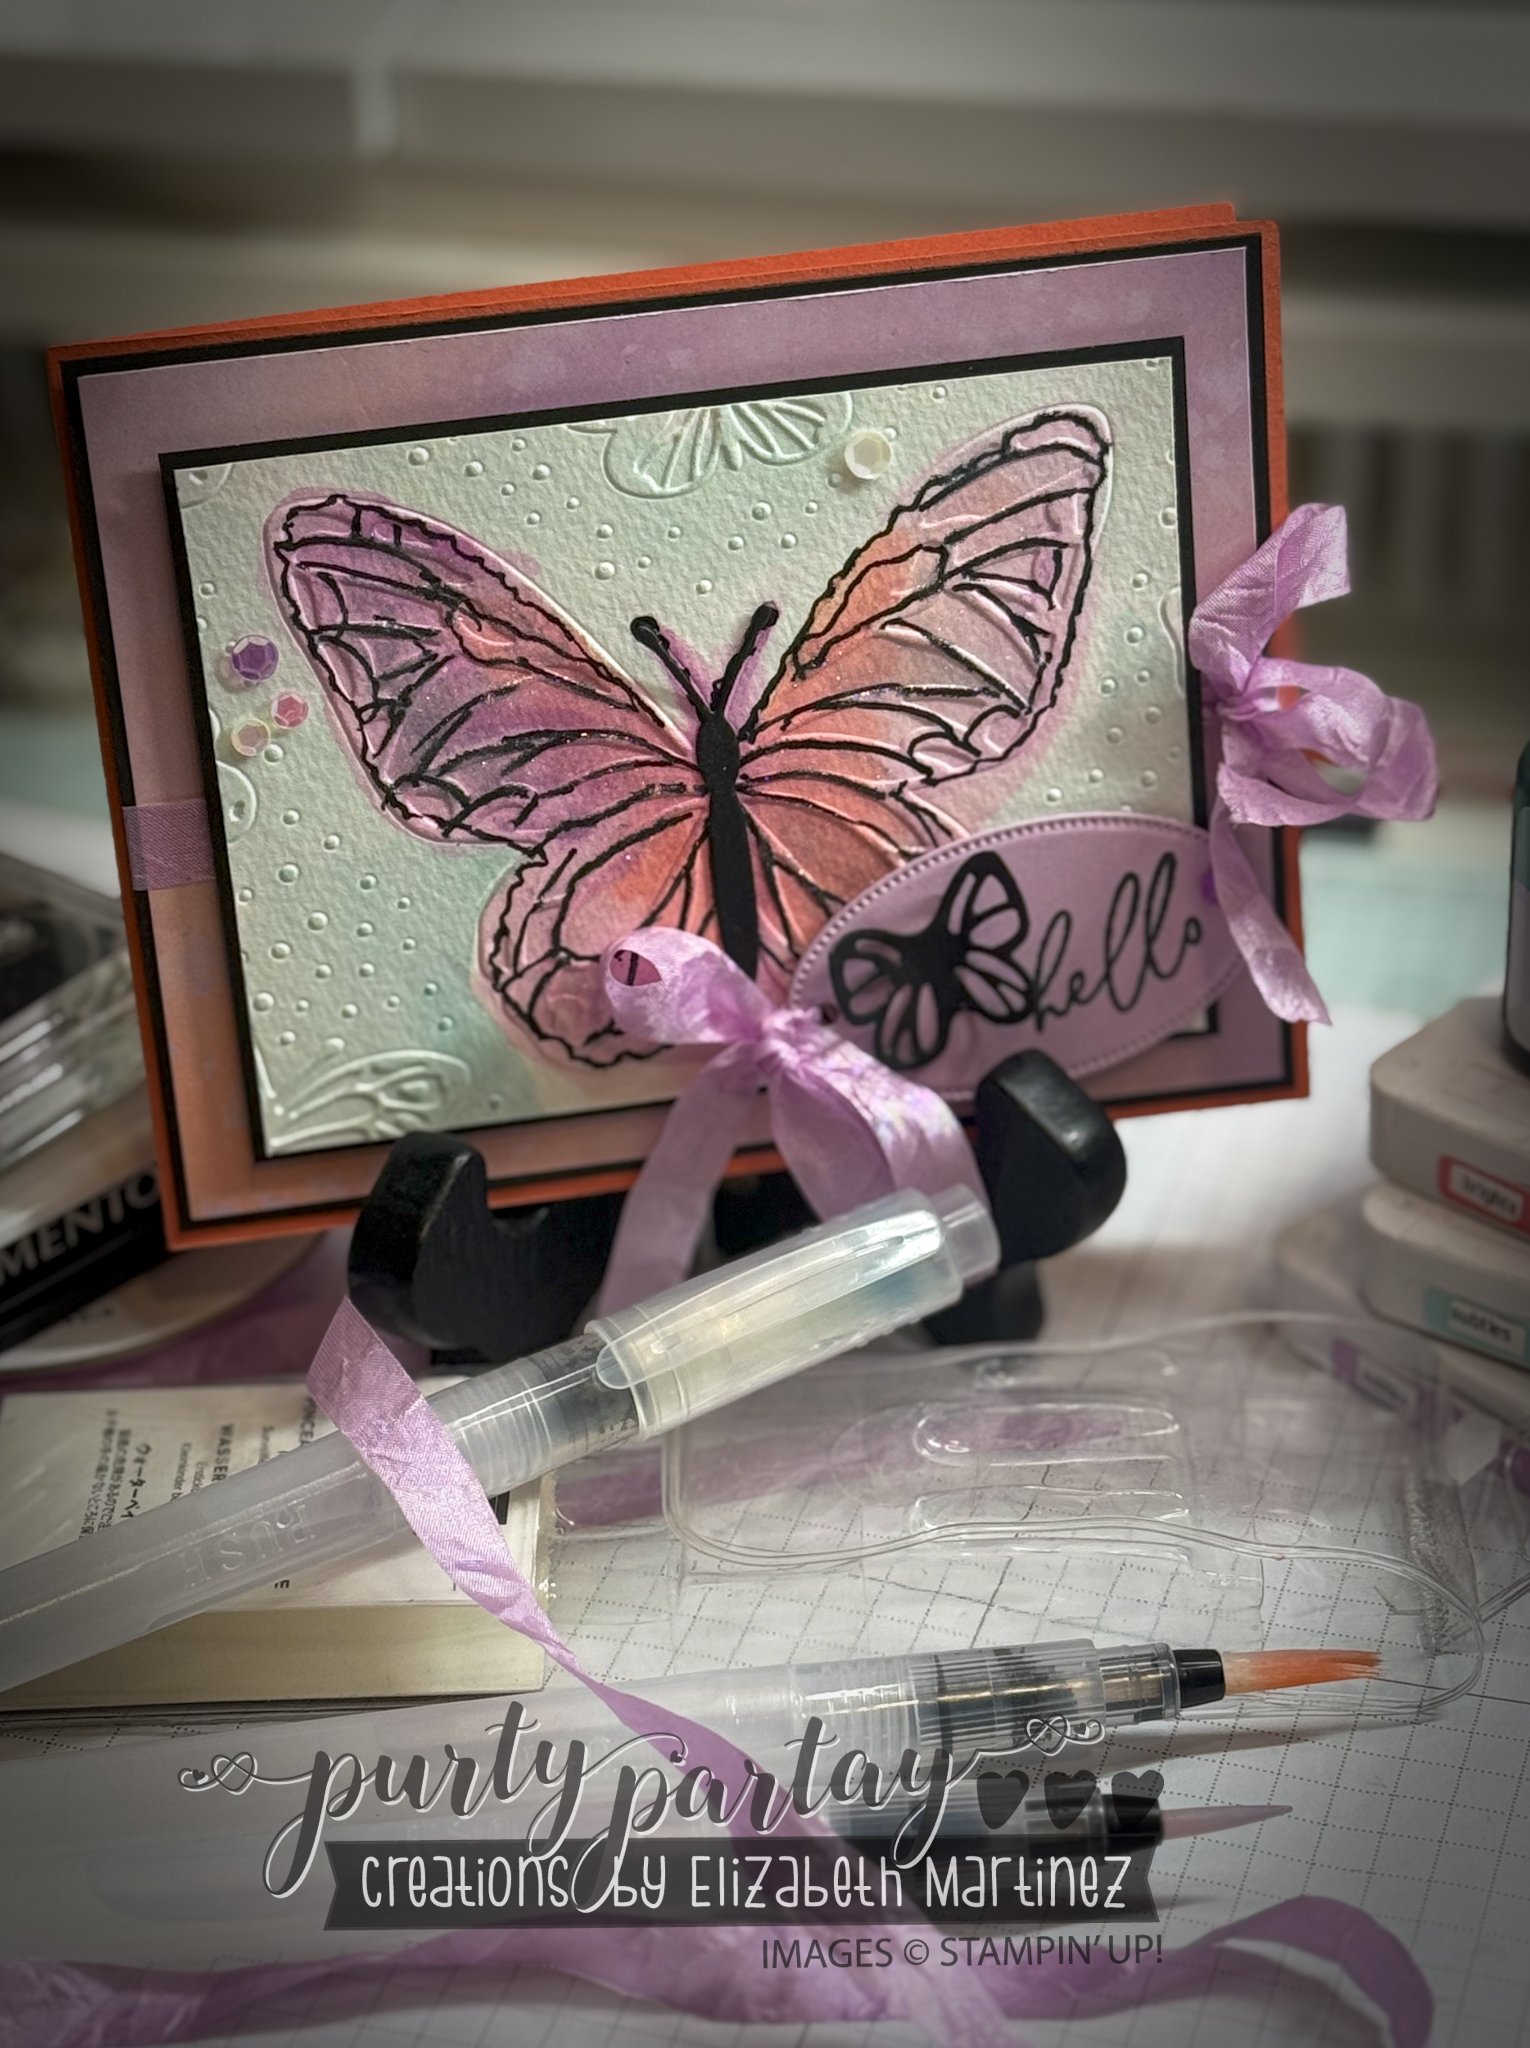
Today, I’m sharing a fun and easy technique to create a gorgeous butterfly card using 3D embossing and watercoloring. This method lets the raised design guide your painting, making it effortless to blend colors while adding depth and shimmer. Let’s dive in!
Materials You’ll Need:
✔ 3D Embossing Folder – A butterfly or any textured design you love
✔ Watercolor Paper – Works best for blending and absorbing color
✔ Watercolor Paints or Watercolor Pencils – Your favorite shades
✔ Water Painters or Brushes – For smooth application
✔ Wink of Stella Glitter Brush – To add shimmer
✔ Stampin’ Write Marker – For outlining and definition
✔ Die-Cutting Machine – Compatible with your embossing folder
✔ Adhesive & Card Base – To assemble your masterpiece
Step-by-Step Instructions:
1️⃣ Emboss Your Paper:
- Place your watercolor paper inside the 3D embossing folder.
- Run it through your die-cutting machine to create a raised design.
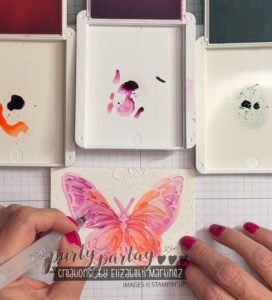
2️⃣ Watercolor the Embossed Design:
- Use water painters or a brush to apply watercolor to the raised areas.
- Let the embossing lines guide you as you blend different shades.
- Build up color gradually, allowing each layer to dry slightly before adding more.
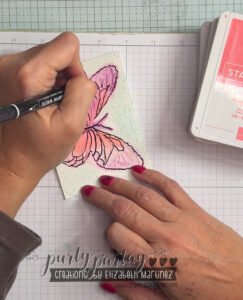
3️⃣ Define the Outline:
- Once the watercolor is dry, trace the edges of the embossed image using a Stampin’ Write Marker.
- This enhances the design and makes your butterfly pop.
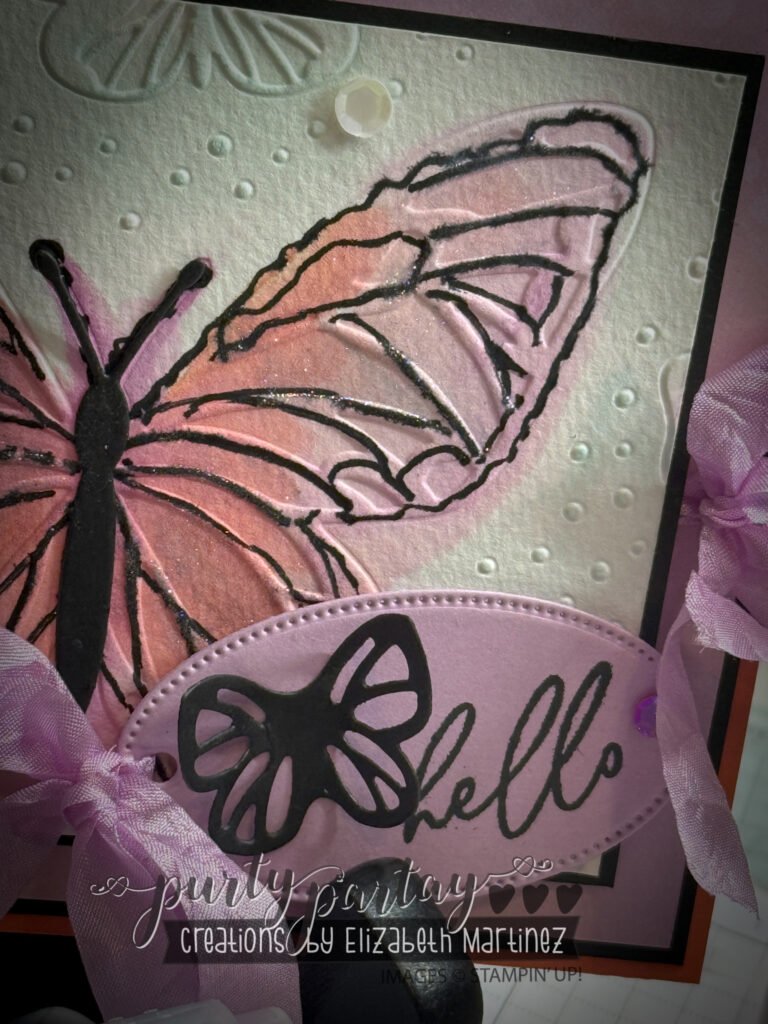
4️⃣ Add Shimmer:
- Lightly brush over the watercolored areas with Wink of Stella for a soft, sparkly finish.
- This step adds a magical touch without overpowering the colors.
5️⃣ Assemble Your Card:
- Trim your watercolor piece to your desired size.
- Adhere it to your card base, layering with coordinating cardstock if desired.
- Add embellishments, ribbons, or a sentiment to complete the look.
Crafty Tips:
✨ Use the embossing folder as your painting guide. The raised design helps contain the color, making it easier to control your brush strokes.
✨ Keep a light hand with water. Too much can make your colors muddy—start with a little and build up.
✨ Mix and match colors! Soft ombré effects or bold, contrasting tones can completely change the look of your butterfly.
✨ Don’t be afraid to outline. The Stampin’ Write Marker trick gives a polished, finished feel to the design.
This is such a fun and relaxing way to create beautiful handmade cards! Whether you’re new to watercoloring or a seasoned pro, this technique is a must-try.
Would you give this a go? Let me know in the comments, and tag me if you create your own version! 💜

Leave a Reply